Our companies are backed by the Best Pick Guarantee. Call one today!
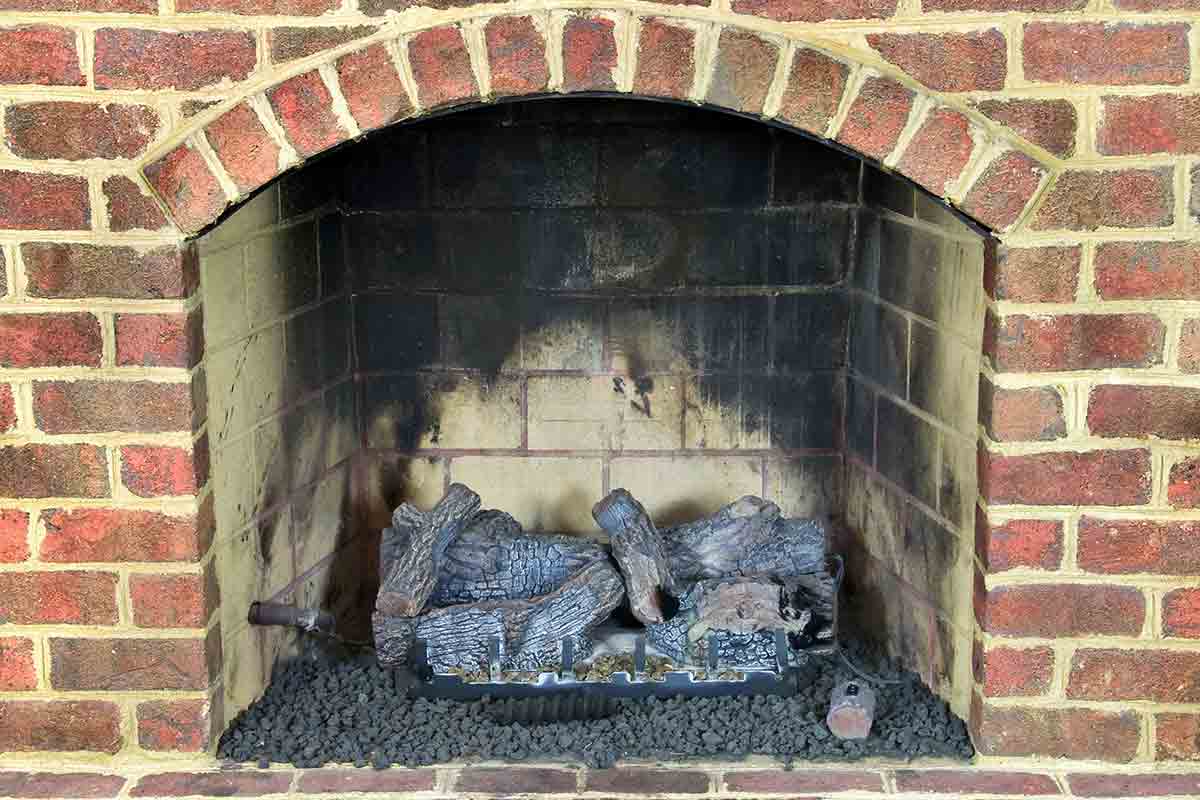
Fireplaces are wonderful for lending a cozy ambience to a family room, but what if your home’s fireplace just isn’t your style? What if it’s…kind of ugly?
Old doesn’t automatically equal unattractive, of course. The midcentury modern aesthetic of the 1950s and 1960s, for example, is making a comeback, but the visually heavy styles of the 1970s, 1980s, and 1990s aren’t nearly as sought-after these days.
If the thought of ripping out that ugly fireplace and replacing it with something more your style makes you want to go take a nap (I’m right there with you!), take some comfort in the fact that there are plenty of other fireplace makeover options that don’t involve major construction.
In most cases, painting the brick will be your best bet, but if paint isn’t an option, I’ve got you covered—keep reading!
1. Paint the Brick
 From a labor standpoint, painting involves the fewest materials and doesn’t require specialized knowledge. Every paint job includes some prep, and painting a brick fireplace is no exception, but you won’t need to use power tools or complicated brush techniques.
Note: If your brick is dirty or stained enough to require washing, add at least a day to the project timeline—the brick needs to be completely dry before you prime and paint.
Materials
Here’s what you’ll need:
- A stiff wire brush
- Rags
- Painting drop cloth
- Painter’s tape
- Primer
- Masonry paint
- Paint roller
- Paint roller covers for textured surfaces
- Paint tray and liners
Items you may need, depending on your fireplace:
- Trisodium phosphate (TSP)
- All-purpose household cleaner
- Heat-resistant paint
- Gloves
- Safety glasses
How to paint a brick fireplace
Gather the necessary materials. Make sure you have what you need before you get started. I don’t know about you, but nothing saps my motivation more than having to run back out to the store mid-project.
Prep the surface. Your brick fireplace may look clean, but if it has been used at all, or if your home is several (or more) decades old, it probably isn’t. To ensure that the paint will adhere properly, brush off any dirt, soot, and dust with a stiff wire brush. Use a damp rag to remove any remaining debris.
If the brick was especially dirty or soot-stained to begin with, you may need to take additional steps. Not sure how to clean brick? Gather a few supplies and get started:
- Put on gloves and safety glasses, and spray or brush the brick with trisodium phosphate (TSP), a degreaser and cleaning solution.
- Follow the TSP with an all-purpose household cleaner.
- Rinse the cleaning agents from the brick by spraying the surface with water and blotting with a rag.
- Let the brick dry completely.
Tape off the area to be painted. Using blue painter’s tape, tape off the edges of the area you’ll be painting. Cover the flooring immediately around the fireplace with a drop cloth.
Paint the firebox. This step is optional, but if your fireplace’s firebox (the alcove where you actually build the fire) is unattractively stained or just isn’t a color you like, paint it! Be sure to purchase paint made specifically for fireboxes and other areas that are subject to direct flame.
Prime the brick. Use a high-quality primer to seal any small holes in the brick or in the grout. Start out with a roller designed for textured surfaces, and then switch to a brush to get the primer into all the nooks and crannies.
Paint the brick. Once the primer has dried, it’s time to paint. Unless your fireplace is really, truly only for decoration and will never be used, make sure to choose heat-resistant paint. Your local home improvement store should carry masonry, stucco, and brick paint options from several brands, and this type of paint is your best option.
Start out with the same type of roller you used for the primer, switching to a brush to work the paint into grout lines, corners, and other tight spaces. The number of coats required will vary based on the color of the brick and the paint color you chose, but a good estimate is one coat of primer and two coats of paint.
And that’s it!
Clean up your supplies, pull off the painter’s tape, and admire your new fireplace!
2. Build a Façade
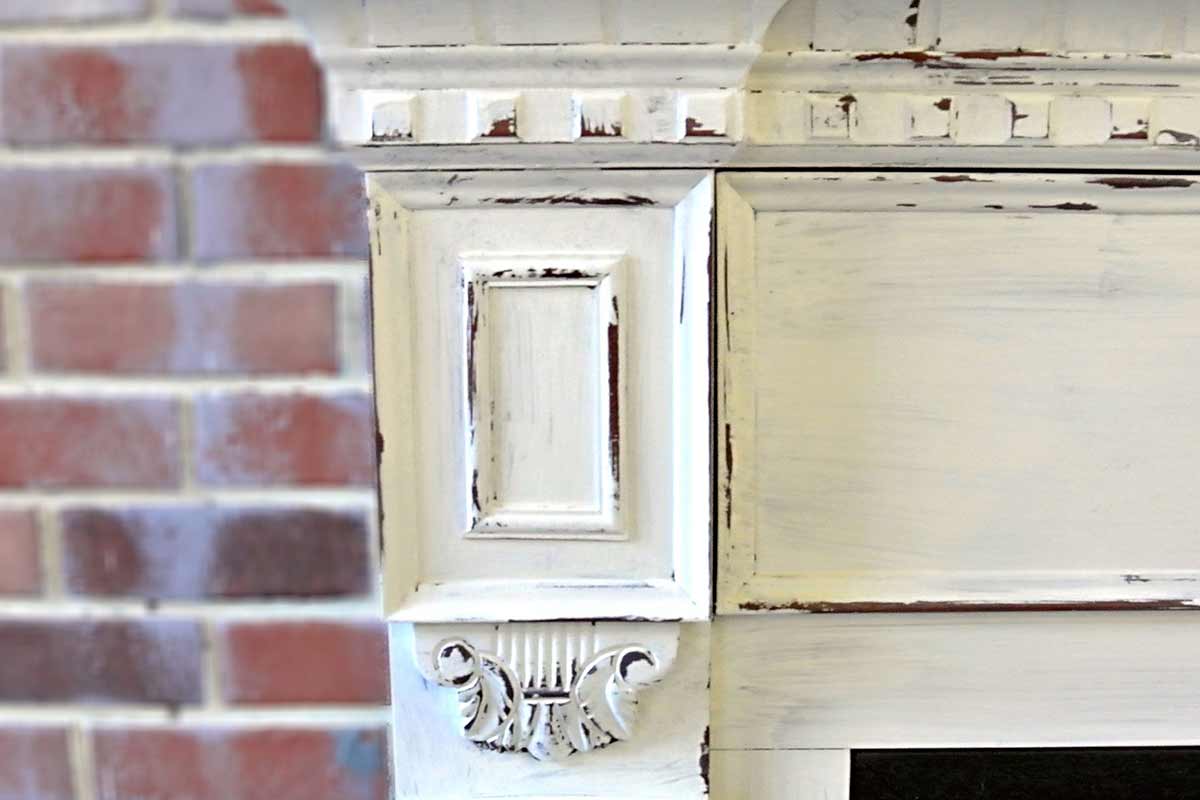
 If you’re not ready to commit to painting the brick (or if doing so is prohibited by your landlord) and you’re relatively handy, building a cover for the lower part of your fireplace can be a fun weekend project.
Note: You’ll use wood for this project, so for safety reasons, never light a fire in your fireplace with the removable mantel in place.
Materials
Here’s what you’ll need:
- Sanded plywood
- 1” x 6” boards
- Cordless drill
- Circular saw or table saw
- Primer
- Paint in a color of your choice
- Screws or nails
- Minimum of two eye hooks
- Wood glue
- Speed square
- Level
Here are items that will make the project a little easier:
- Pocket-hole jig
- Speed clamps
How to build a removable fireplace mantel
Measure the space you’d like to cover. If your brick fireplace runs from the floor to the ceiling, covering the entire area probably isn’t realistic (or safe). Instead, plan for a fireplace cover that ends about where you would normally place a mantel. Don’t forget to measure the firebox opening.
Measure and cut plywood and wooden boards. The sheets of sanded plywood will work best for the face of the cover; the 1” x 6” boards will work well as the sides and internal supports. If you have one (or can borrow one), a table saw makes trimming up boards and sheets of plywood quick and easy. If not, a cordless circular saw and a steady hand will do the trick.
Assemble the pieces. There are a couple of ways to do this, but regardless of the method you choose, join the pieces with a thin strip of wood glue before nailing or screwing them together. If you have them, speed clamps will help hold the pieces together as the glue dries.
- Assembly Method 1: Nail or screw the pieces together. If you don’t mind visible nail or screw heads, this is a quick and easy way to put the mantel together.
- Assembly Method 2: Use a pocket-hole jig to make invisible holes for screws. Unless you already have one, this method will require you to purchase a pocket-hole jig (you may know it as a Kreg jig). Pocket holes allow you to screw the parts of the mantel together from the inside of the piece, creating a seamless look from the outside.
Prime and paint the fireplace cover. Bare wood does an excellent job of soaking up paint, so be sure to prime first. Apply one or two coats of primer to the entire exterior of the fireplace cover, and let it dry completely before painting.
Attach eye hooks. Your new fireplace cover must be stable in order to be safe, but the dimensions of the structure (tall and wide, but narrow in depth) can make it top-heavy. To secure the mantel to the wall, install at least one eye hook on each side of the piece—attach the hook portion to the mantel and the eye portion to the wall.
And you’re done! Admire your handiwork, and have fun decorating your new mantel!
3. Decorate the Fireplace
 If construction isn’t your thing and permanent changes aren’t an option, go nuts with decorations!
Materials
Here’s what you’ll need:
- Canvases or framed prints of your choice
- A mirror you love
- Decorative items—vases, buckets, dried flowers
- Picture-hanging supplies
- Hammer
- Level
Here are some additional supplies to consider:
- Thick ribbon, rope, or twine
- Twinkle lights
- Stud finder
How to Decorate a Fireplace
Decide what to highlight (and what to disguise). Do you like anything about your fireplace, or is the whole structure not to your taste? Hanging a large mirror or piece of artwork above the fireplace is an excellent way to camouflage unattractive brick.
The only downside is that hanging artwork or a mirror from brick or masonry requires some special tools (and the process creates hard-to-hide holes). For a less permanent solution, prop up the painting or mirror on the mantel.
No mantel? No worries!
Use a hook and decorative (but strong) ribbon or rope to suspend the artwork or mirror from the ceiling. If the mirror or piece of artwork is heavy, use a stud finder to make sure you’re anchoring the hook in a ceiling joist.
Create symmetry. Symmetry is naturally pleasing to the eye, so cater to that by placing identical vases, floral arrangements, or other decorative elements on either side of the fireplace.
Hang twinkle lights. I’m a firm believer that twinkle lights make everything look better, so they’re my go-to for unattractive rooms or spots around the house that need an infusion of coziness. Choose LED lights in a warm white tone for the most soothing (and energy-efficient) effect.
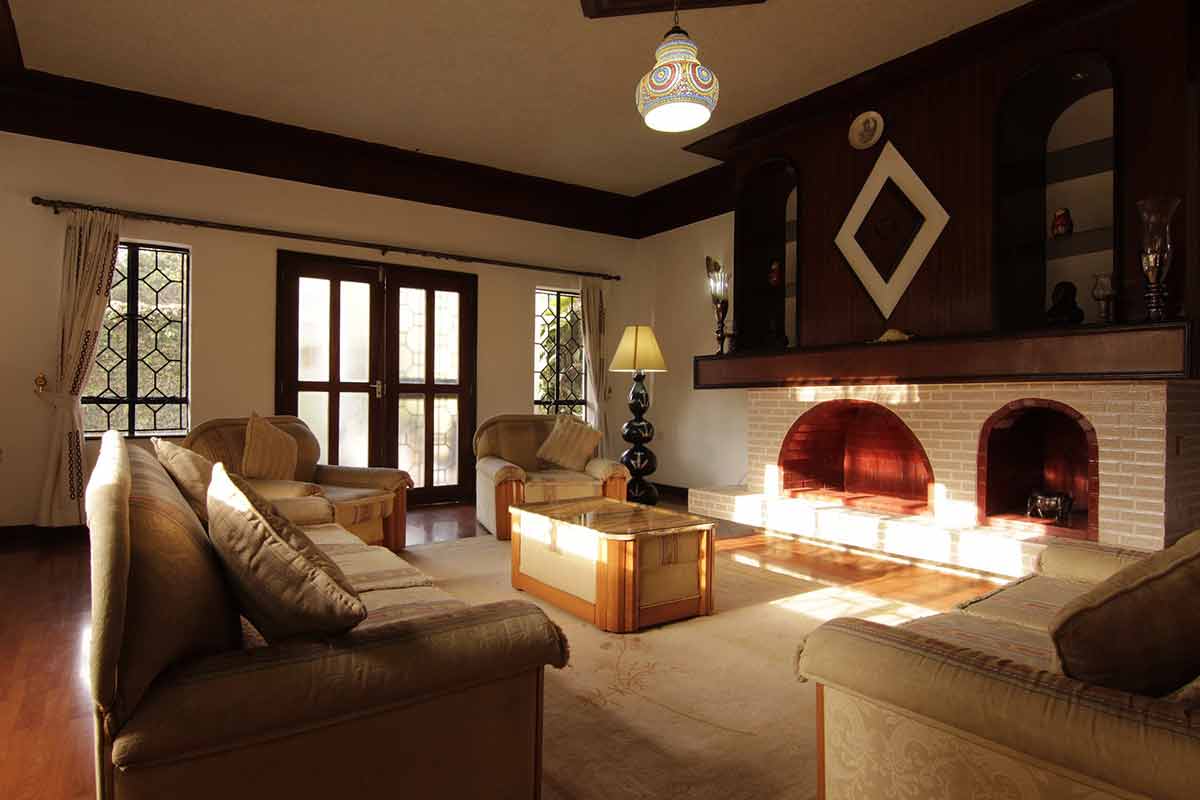
Embrace the kitsch. If there’s simply no way to disguise the yellow, 1970s-era brick fireplace that dominates your living room, don’t spend energy and money fighting it. Instead, use it as an opportunity to scour yard and estate sales in your area. This is your opportunity to go nuts with macramé wall hangings, vintage furniture, shag carpets, and brass lamps and accent pieces.
The Bottom Line
Even though a fireplace is a common must-have for many home buyers, it’s still an element that is subject to trends (and personal style). Luckily, like almost everything in a house, a fireplace can be updated.
How you approach a fireplace update depends largely on whether you rent or own your home, but your budget and interest in DIY projects figure in too.
If a weekend of painting or light woodworking sounds like fun, painting the fireplace or building a removable cover for it might be right up your alley. If not, peruse your local home stores and yard sales for fun decorations to accent (or camouflage) your fireplace.
Another good option is to get in touch with a Best Pick chimney and fireplace specialist. Many chimney and fireplace contractors offer fireplace remodeling services, and most importantly, they can inspect your chimney to make sure it’s safe to use.


