Quality matters when hiring for a big project. Call a Best Pick now!
What to Do When Your Home’s A/C Is Not Blowing Cold Air
May 31st, 2012 byWhen you arrive home after a long day out on a stuffy summer’s afternoon, the last thing you want to be greeted with upon walking through the front door is a blast of warm air—a sure sign of an A/C unit not cooling as it should. If you discover that your air conditioner has stopped blowing cold air, you’ll probably wonder what to do next for the fastest fix.
Before investigating your air conditioner’s troubles, it’s necessary to have a basic understanding of how it functions.
For an in-depth look at residential HVAC systems, check out how heating and cooling systems work.
Air Conditioning 101
All residential air conditioning systems use the same basic method to cool your home. Essentially, your air conditioner pulls in warm air from inside the home, extracts heat from it, and circulates the now-cool air through your duct system and into the different rooms of your home.
This is accomplished by the two major components of an air conditioning system: the condenser (the unit that sits outside your home) and the evaporator.
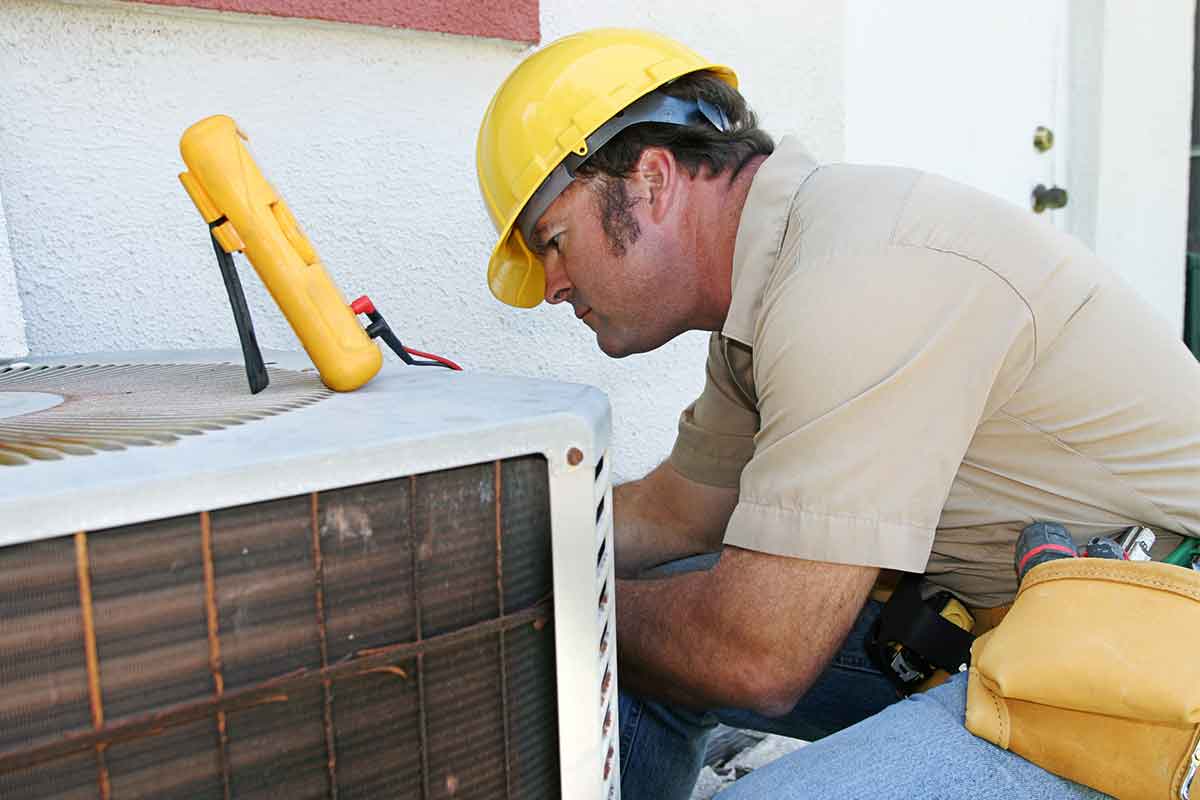
When your air conditioner is working but not cooling, there’s a good chance that your condenser is simply dirty.
How to Clean Your Condenser in 6 Steps

1. Shut down all power to the unit.
Attached to the condenser should be a metal box that houses the disconnect switch. This is where you’ll turn off the 240 volts that power the condenser.
The way to do this will vary depending on the particular system, so consult your system’s manual or call the installer before beginning. Generally, the power can be shut down by pulling a shutdown handle, removing a fuse, or disconnecting a power cord.
Also make sure to turn off the circuit at your main electrical panel.
2. Unscrew and remove the top panel or grille as well as any protective side grilles.
Important: Wait a few minutes before removing the panels to ensure that any remaining charge has dissipated.
Be careful with this step, as sometimes the unit’s fan is attached to the top panel or grille. If this is the case, make sure you don’t disturb any wires connected to the fan.
3. Brush the fins and coils.
When you remove the protective grilles, you’ll notice that the condenser coils are surrounded by flat panels, or fins, usually made of aluminum.
With a soft brush, clean the fins and coils of any debris or dust, taking care not to bend the fins, and remove any loose debris from the bottom of the unit. Then, if possible, use a bristle attachment to vacuum away any remaining dirt or dust.
4. Wash the fins and coils.

Cover the wiring and the motor with a plastic bag (a garbage bag would work nicely) and duct tape, and use a hose with a trigger nozzle to clean out the coils and fins.
Do not use a high-pressure stream, as the aluminum fins can be easily bent by water pressure. After the water has drained from inside the bottom of the unit, remove the plastic covering from the electrical components.
If any of the fins are bent, they will need to be straightened for optimal performance. This requires a special tool called a fin comb and is best left to a professional HVAC contractor. Make a note to call one to repair your unit before the heavy-use season begins.
Need help choosing a pro? Check out our tips for choosing a contractor.
5. Replace the panels and grilles.
Screw the protective grilles back onto the unit. After you’ve finished cleaning the condenser, use a level to make sure that the unit is balanced properly. If the unit isn’t level, drainage problems may occur.
6. Reconnect the unit.
Turn the thermostat off before reconnecting the power to the unit. After the thermostat is turned off, reengage the power to the unit at the main service panel and the disconnect box, and then set the thermostat to cool.
After a few minutes, locate the two pipes connecting the outdoor unit to the indoor air handler. One of the pipes should be cool, and the other should be warm.
Other Issues and Recommendations

If cleaning the condenser unit doesn’t solve your problem, then you likely need to have your refrigerant recharged. Because this task involves working with potentially harmful substances, your best bet is to call an HVAC professional.
Until recently, the most common air conditioner refrigerant has been R22, a hydrochlorofluorocarbon (HCFC) more commonly known as Freon. HCFCs are serious environmental pollutants, and their production will stop completely in 2020.
What does this mean for you?
Freon is becoming harder to find, so if that’s the refrigerant your current A/C system uses, you will pay a higher-than-normal price for it, if your HVAC technician is able to locate any at all.
If your air conditioner is on its last legs, ask your HVAC technician for information about a new system that uses R410A, a hydrofluorocarbon refrigerant that is less harmful to our environment.
Even if your air conditioner is working fine, cleaning your condenser is something that should be done every year, ideally on a warm day before the heavy-use season. As you can imagine, the HVAC business is highly cyclical, so bear in mind that you may encounter a wait for service if you call an HVAC company during the busy summer months.
The Bottom Line
Using our step-by-step guide, give your system a good cleaning each springtime. This will help you catch any small problems (such as bent condenser fins) before they bring your whole system down just when you need it the most.
Curious about other HVAC-related topics? We have lots of information about HVAC maintenance on our blog—check it out!
Find your local Best Pick™ Air Conditioning & Heating Company


