Our companies are backed by the Best Pick Guarantee. Call one today!
Many homeowners choose a wood fence over other materials because the classic look of a wood fence is hard to beat. However, over time the elements can dull a wood fence’s appearance and leave it looking worse for wear.
If you live in a dry area, the combination of UV rays and dust can make your fence look washed out and old. Those of you in wetter climates have probably seen slimy stains on your fence and other wood outdoor surfaces that darken with each successive rainy season—telltale signs of mold and algae.
The good news is that fence maintenance has come a long way since Tom Sawyer and his bucket of whitewash, so if you wish your wood fence looked new again, there’s no need to worry.
Keep reading for some handy tips to restore your fence to its original appearance and make it a beautiful addition to your property once again.
DIY vs. Professional Wood Fence Cleaning

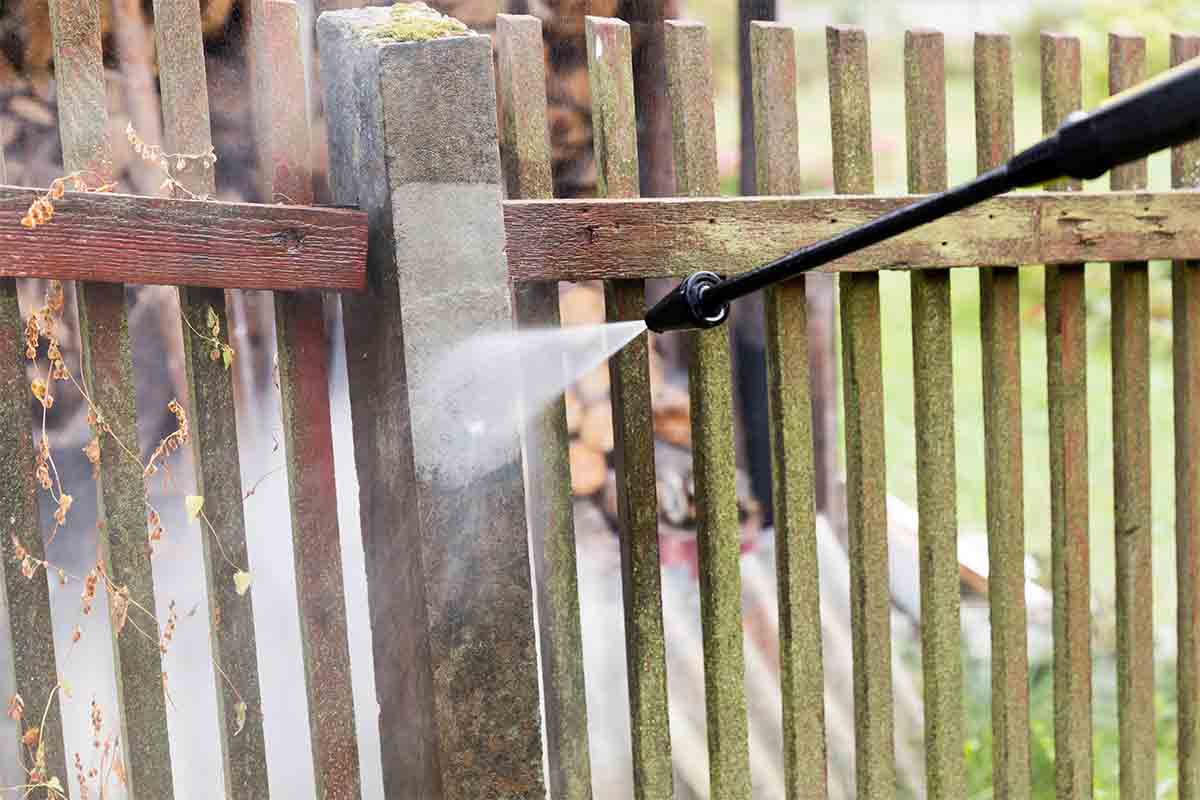
Pressure washing is the most efficient way to revitalize your fence, but it’s important to remember that in order to remove the grit and muck from surfaces, pressure washers must be very powerful.
In fact, units used on home cleaning projects typically produce 1,500 to 3,000 PSI (pounds of pressure per square inch). In untrained hands, that much force can be dangerous. One poorly aimed spray of the wand, and you could be dealing with a broken window.
Even though pressure washers are the easiest way to clean wooden structures, the high pressure of the water can splinter soft woods like pine and cedar, quickly doing major damage.
If you’re up for the challenge, check out our comprehensive guide to pressure washing before you get started. And if you decide to let a professional handle the job, talk to a few Best Pick companies for bids.
Another bonus of hiring a pro is that trained professionals can pressure wash a wood fence just as easily as they can clean your siding or driveway, so consider any other pressure washing your property may need before hiring a contractor.
DIY Fence Maintenance & Cleaning

Now that we’ve covered both the reasons to handle your fence maintenance yourself and the reasons to hire a professional, let’s talk about some essential tips to follow if you decide to go the DIY route.
The goal of cleaning your fence is to wash off the thin layer of dead wood cells that gives an older wood fence its silvery-gray patina. Once the fresh wood is revealed, it can be stained or sealed to protect it from the decay that comes from moisture infiltration. (Check out Part 2 for tips on staining and sealing!)
Ready to get started? Follow these important tips:
1. Rent or buy an electric pressure washer.
Gas-powered units typically have higher PSI ratings and deliver more gallons of water per minute (GPM) than electric models. If you’re a total newbie to pressure washing, a gas pressure washer may be more powerful than you’re comfortable with.
It’s not a bad idea to begin with an electric pressure washer, but do keep in mind that electric models require a power outlet. If that’s going to be inconvenient given the size of your fence, spring for a gas pressure washer and give yourself plenty of opportunity to practice with it before starting your project in earnest.
2. Lay down plastic sheeting to protect the grass and plants around the fence.
The high-pressure stream of water from a pressure washer loosens dirt and grime—and it can also spray that dirt and grime back onto your yard (and you). If you have delicate flowers or shrubs growing near the base of your fence, covering them with a tarp for protection is a good idea.
3. Use the appropriate nozzle heads.
Start with a green-tipped, 25-degree nozzle. This nozzle is the best for all-purpose pressure washing, but if you encounter tough grime or heavily stained areas of the fence, you may need to switch to a yellow-tipped, 15-degree nozzle.
4. Keep the nozzle one to two feet away from the fence to avoid damaging it.
High-pressure water can do significant damage at close range, so begin farther away from the fence—try about two feet—and then gradually move forward if necessary. It may take you a couple of passes to find the right distance for cleaning, but it’s better to move slowly than to gouge the wood.
5. Use cold water.
Most residential pressure washers, especially those available for rent, only offer cold water settings. If, however, you’ve managed to snag a heavier-duty machine, you may have both cold and hot water options.
For pressure washing a wood fence, stick to cold water. Hot water can raise the grain of the wood and make staining or sealing the fence more difficult.
6. Heed all safety warnings.
Protect your eyes with safety glasses, and never direct the water stream toward people, pets, or electricity sources. You may also consider wearing ear protection. Pressure washers can be loud, and protecting your hearing is important. And remember: you will get wet. Dress accordingly.
Washing by Hand

You can also wash your fence the old-fashioned way: by hand. But should you? That depends.
If your fence is large, this can be a much longer and tougher job than using a pressure washer. Washing by hand also requires an effective cleaner in lieu of powerful water pressure, so be careful when handling these concentrated chemicals.
Appropriate cleaners are available at your local hardware store; all you need to add is elbow grease. With any cleaning solution, it’s wise to test it on an inconspicuous area of your fence before applying it to a larger area.
Finishing Touches
Pressure washing a fence is a big job, but try not to lose your momentum when you finish. Sealing the wood is just as important as cleaning it, and it’s this final step that protects your fence from deterioration.
Once you’ve let your freshly washed fence dry, choosing between staining and sealing will be your major decision.
While your fence can survive without a stain or sealer, keep in mind that skipping this step leaves the wood unprotected, which will result in the need for more frequent cleanings and a shorter lifespan for your fence.
Staining vs. Sealing

Stains or sealers typically need to be reapplied every one to five years, depending on the location and climate. In general, when water soaks into the wood rather than beading up, it’s time to re-stain or reseal your fence.
So, what’s the difference between stains and sealers?
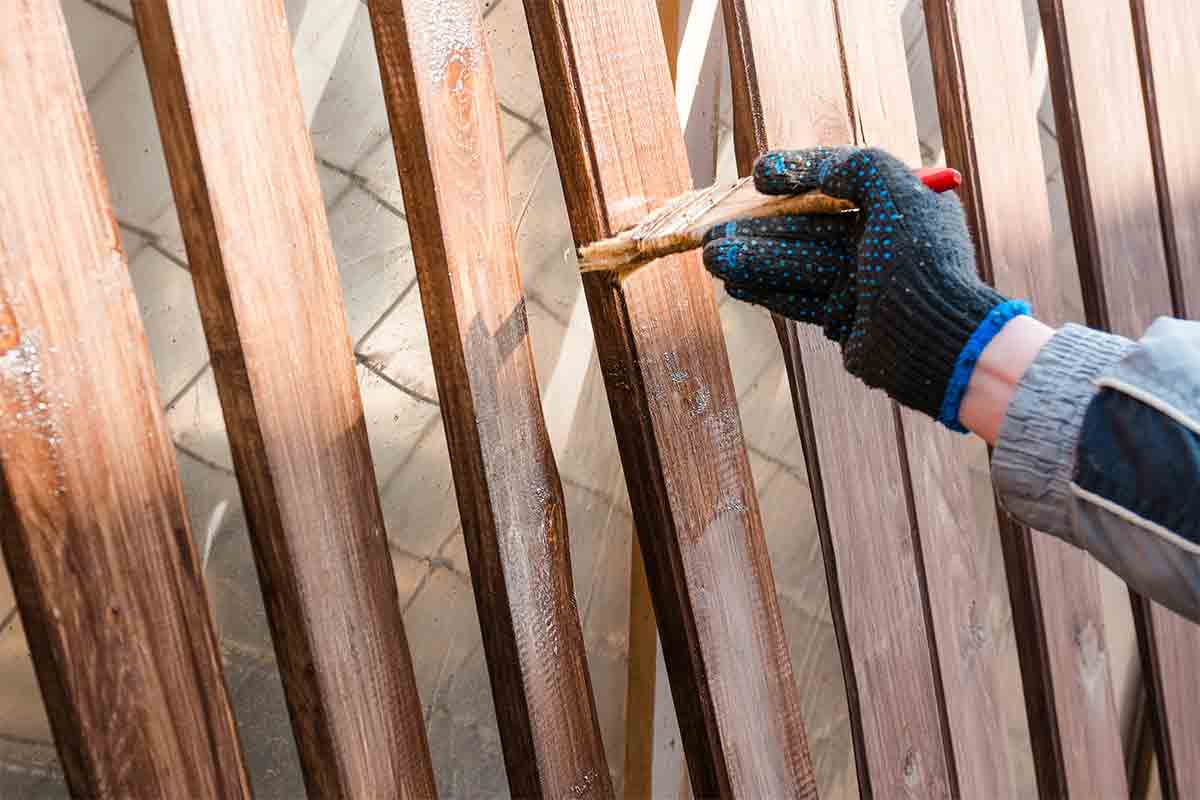
A stain will color the fence. You’ll see several options for stains if you wander through your local home improvement, but look specifically for a stain with an oil base. Oil-based stains will color the wood and highlight its natural grain, and the oil base ensures that the product will sink into the wood.
Semitransparent stains are the easiest to work with and require the least maintenance. Depending on wood type and the climate in your area, you can expect to re-stain your fence every three years or so.
A sealer forms a protective, water-resistant barrier from moisture. Sealers do not add color or tint to wood, but most of them do offer UV protection. Sealers are formulated with wax instead of oil, which means that they will wear away more quickly than a stain. In most cases, your fence will require sealing on an annual basis.
If you don’t want to decide between one or the other, look for a combination product. There are several manufacturers that sell combination stains and sealers.
Regardless of the product you choose, make sure that your fence is totally clean and dry before applying it; stains and sealers won’t adhere to wet wood.
The Bottom Line
Wood fences can last upwards of 20 years, depending on what kind of wood you use and the climate you live in. Regular cleaning and treating with a stain or sealer can help preserve the look and prolong the life of your fence.
Cleaning your fence can be a good weekend DIY project if nice weather is in the forecast (though if this is your first time attempting such work, you might want to budget a couple of weekends), or you can let a pro handle it.
Either way, you’ll be surprised at how good and like-new your wood fence will look once the grime and dirt have been washed away.


